This page is your starting point for the full Bring Back The Sun! walkthrough on Roblox. The game is a linear escape-room adventure — you play through six maps in a fixed order, collect four relics, and face the final boss. Click any map link for a detailed step-by-step guide for that specific level.
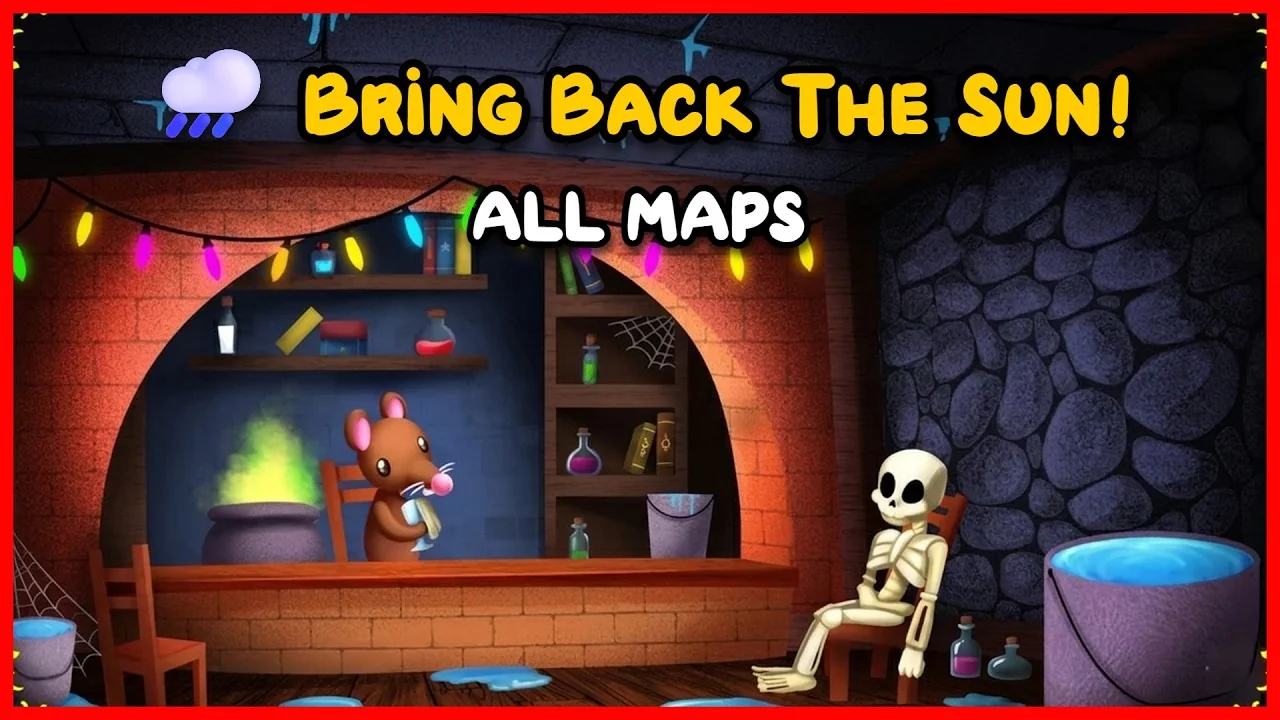
The complete map sequence — from the Wizard's House tutorial to the final boss encounter.
How the Game Works
Every map in Bring Back The Sun! follows the same core loop:
- Explore first. Walk the entire map before touching any lock or keypad. Note every locked door, empty slot, and object that clearly expects an input.
- Hunt for clues. Codes, symbols, and items are hidden throughout the environment — in corners, on shelves, behind furniture. Nothing is in plain sight.
- Match clues to locks. Every puzzle accepts only the matching clue. Guessing random codes does not work.
- Clear one step, then the next. Each solved puzzle usually reveals a new room, item, or panel that continues the chain.
If you are stuck, it almost always means a clue is still hidden somewhere in the current area. Go back and search every room again rather than forcing an input.
Map Walkthroughs in Order
1. Wizard's House (Tutorial) — Code: 14
The introductory map. Cut the correct bush to find a key, enter the house, count the fruit (3 apples + 4 oranges = 7, × 2 = 14), use a candle to burn blocking plants, and collect the green key to reach the bedroom. No relic is awarded here — this map teaches the game's puzzle style.
Full Wizard's House walkthrough →
2. Sinister Forest — Code: 9898 / Relic: Tear of the Forest
Two obbies, a multi-ingredient fertilizer puzzle, and a treasure hunt. Search the enchanted woodland thoroughly before starting the fertilizer chain. The code 9898 is revealed through the completed puzzle sequence.
Full Sinister Forest walkthrough →
3. Ancient Ruins (Desert) — Code: 882 / Relic: Shard of the Fallen Sun
Count golems (6→8), haystacks (7→8), and the water wheel (1→2) using the +2 even / +1 odd modifier rule to get code 882. Then complete a bucket chain, lockpicking minigame, and a golden wheat altar.
Full Ancient Ruins walkthrough →
4. The Restaurant — Code: 1573 / Relic: Gift of the Ancient Grain
A trade chain (candles → spear → pizza → coins → potion) opens the recipe book. Crack the cable code (Blue=1, Orange=5, Green=7, Pink=3) for the ancient powder, make blue salt from tomato juice, then add all five ingredients in the exact order.
5. The Lava Temple — Codes: 211 & 8111 / Relic: Burning Heart of the Earth
The hardest map. Read the Symbol Book, use lever values (Pi=2, Delta=9, Zero=1, T6=8) to derive codes 211 and 8111, match flame colors (Orange, Purple, Yellow, Yellow), recreate the color board (Red, Blue, Green, Yellow), and rotate all statues to face center.
Full Lava Temple walkthrough →
6. Boss Fight (Wizard's Castle, Final)
Requires all four relics. Four phases: castle siege with a crafted bow, sorting 10 books by genre (Poetry, Historical, Sci-Fi, Fantasy) across four shelves, finding the hidden magic word, and the final wizard confrontation.
The Jail Map
The Jail is an additional map outside the main relic sequence. It features gem color puzzles, fish feeding, item crafting, and the magic word HayFly. Key codes: wardrobe 180, safe 1936.
All Puzzle Codes at a Glance
See the Puzzle Codes page for a complete table of every keypad answer and puzzle solution across all maps.